
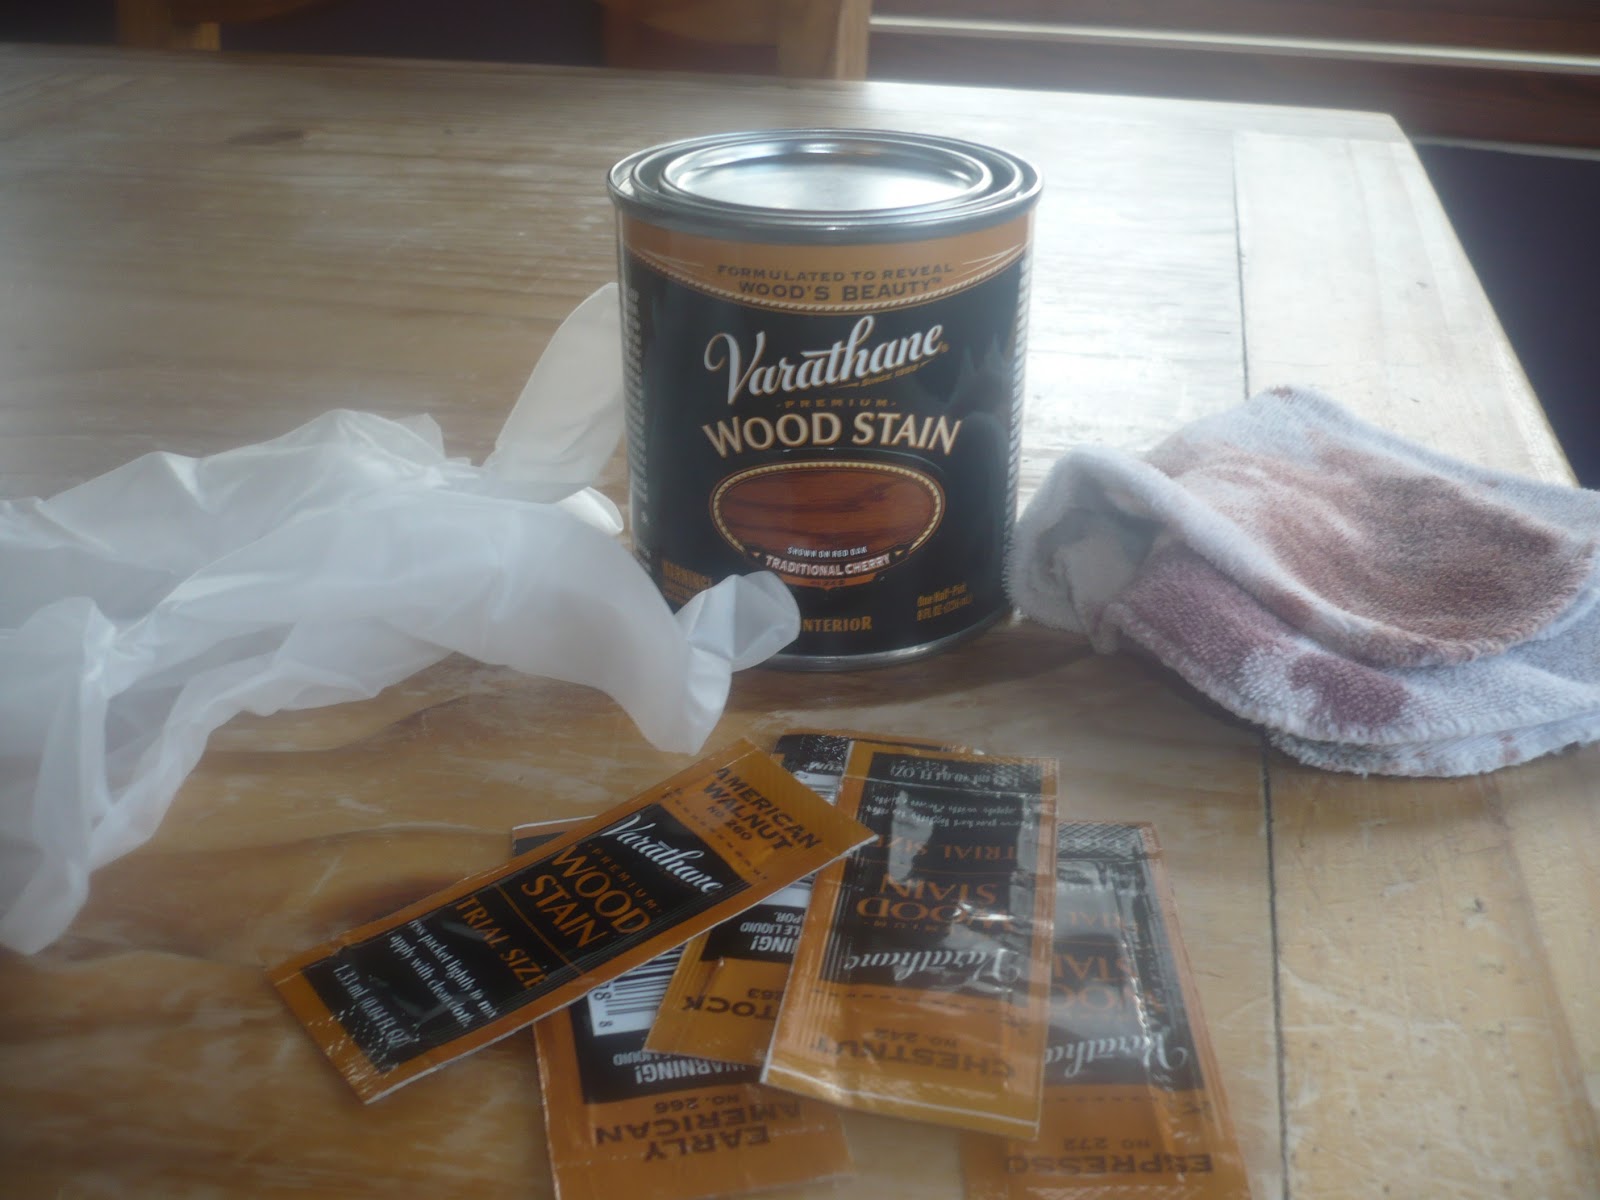

The Supplies
- Rubber gloves- ones you use for hair dye, washing dishes, really anything to protect your cuticles.
- An old rag- to apply the stain with.
- Stain samples & wood stain

Basically, it's a guessing game.
Judging by the samples at the home improvement store, and the names of the stain, I choose 3 that seem to be a match.
Traditional Cherry, Black Walnut, Merlot
When the stain first goes onto the rag, asses for yourself if the colors match. I started with the Traditional Cherry and the color was almost spot on so I applied a liberal amount.

The next stain I applied was black walnut. I knew immediately by looking at it that it didn't quite match so I dabbed a tiny little bit just to make sure. Remember, each stain looks different on different kinds of wood. I didn't have a sample board to test on, which would have been optimal, and thus had to test on the finish wood.

After I had chosen Traditional Cherry as my winner, I applied the stain in light coats. You want to make sure and use longer strokes so that the stain doesn't pool and dry leaving streaks. I applied 3 coats, let it dry over night and then applied 3 more coats the following day.
After another night of drying I applied a few coats of clear polyurethane to protect the wood from little sticky fingers.


No comments:
Post a Comment